
I have edit my previous e- wallpaper.
I have add in the border and add in some blending option to the words and i have find some new pictures.
Hopefully everyone will like it.


 This is the result of my e-wallpaper.
 This is the second building. I use move tool to drag the picture to place it on the frame and use free transform to decrease the largeness of the picture.


 The wallpaper is almost done.
 Next use the magic wand tool to select the white background and delete it after drag the white background by using the move tool.
 I use the move tool and drag the logo to the wallpaper and place it bottom of the frame.
 After that i have choose to insert the logo of mmu inside the frame.
 The frame have include the title and the details.
 After wrap text, i input another text box and insert the details such as the date, time and venue.


 I have plan to use a frame to frame up the details.
 After everything is done, i choose to stroke the wooden signboard which i could have a bit thicker of the signboard.
 And input the details which is the address of mmu webpage and the contact number.
 I input the text box on the wooden signboard
 The effect will like th above.
 And i edit the contrast and brightness of the wooden signboard
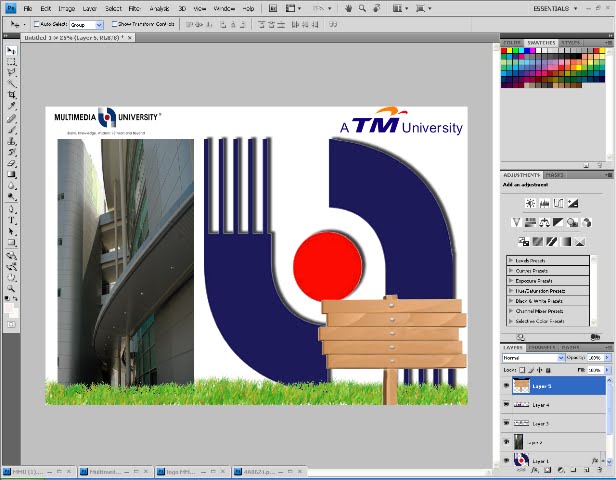 I place it on the right bottom corner.
 After the enlarge i use magic wand tool to select the white color background of the image and delete the white background.
 I enlarge the wooden signboard by using image transforming.
 Place it on the right corner.
 And delete the selected white background.
 By using magic wand tool to select the white background
 Above is the result of adjusting.
 After enlarge i have adjust the contrast of the image.
 I uses image transforming to enlarge the picture.
 Later i place in the picture at the wallpaper.
 This is the result of the cropping.
 I'm using crop to crop the picture.
 This is a picture of admin building which i will place it in the wallpaper. To make it more tidy, i have crop the side of the picture as above.

 I uses clone stamp tool to stamp away the parts that i do not need.


